Giving thermal effects to a picture
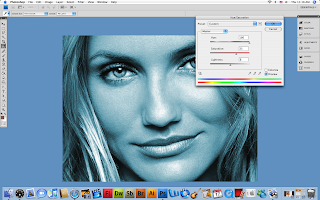
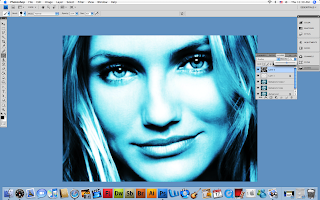
1. Open a image in your photoshop, then change the hue, saturation and brightness of the picture.
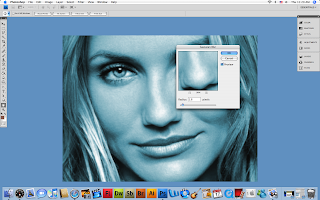
2. Duplicate the layer by pressing Ctrl+J and go to Filter> Blur> Gaussian Blur and apply these settings:
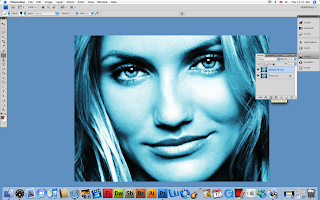
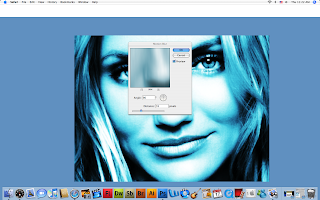
3.Set the blending mode to 'overlay' .Merge the layers together by pressing Ctrl+E. Again duplicate the layer and go to Filter> Blur> Motion Blur and apply these following setting:
. 
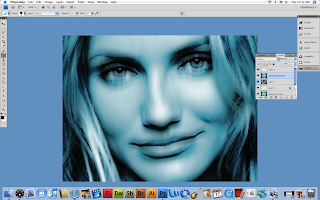
4.Create two different new layers . For the second layer you create go to filter>render>clouds and change the in the second layer.
5. Now create a third layer and move your background copy 2 in between layer 3 and layer 2. After that, select the blending mode to ' darken'.
No comments:
Post a Comment