How to create the effect used in the movie 300
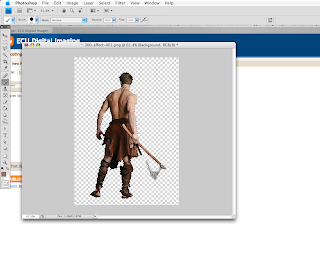
Step 1: Use the magic wand (or lasso) to select the figure you want to use.
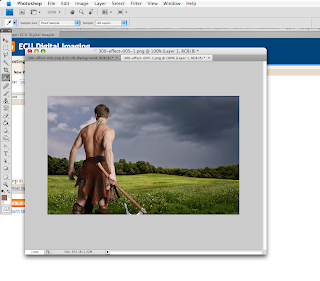
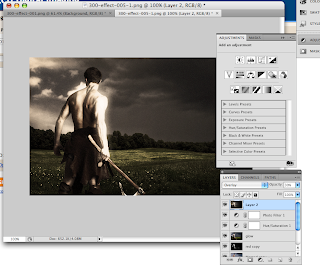
Step 2: Paste your figure into your background
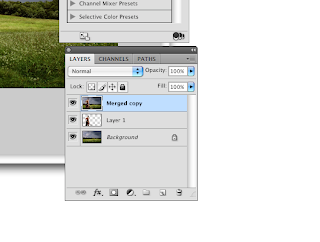
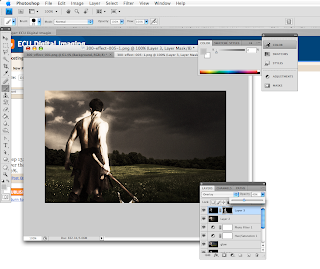
Step 3: Create a merged copy using (shift+alt+command+E)
Step 4: Switch to channels and create a copy of the red layer. Next use (command+L) to open the levels menu and change the values to 79, 0.25, and 202
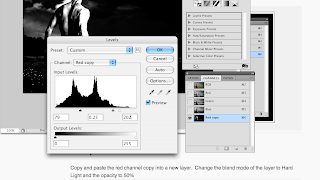
Step 5: Now copy and paste the red copy into a new layer, change blend mode to hard light and opacity to 50%
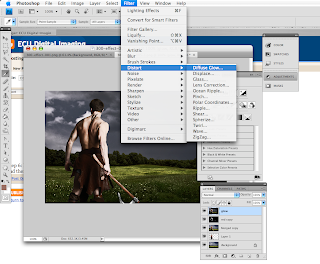
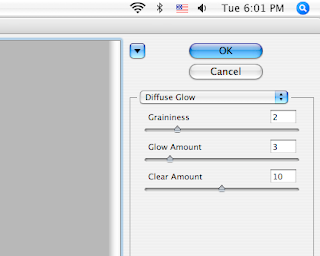
Step 6: Now make another merged copy (alt+shift+command+E) and then go to Filter, Distort, and then Fuse Glow. Set graininess to 6, glow to 3, and clear amount to 10.
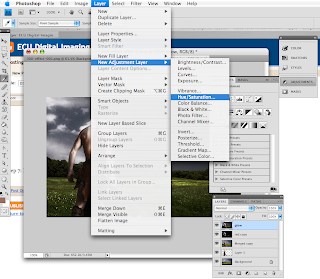
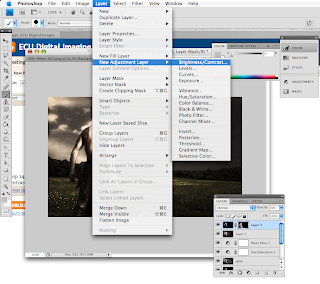
Step 7: Now create a Hue/Saturation adjustment layer and set the saturation to -51.

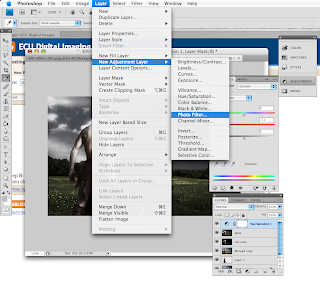
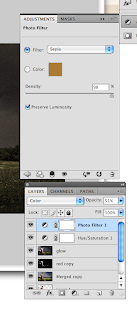
Step 8: Now make a filter adjustment layer. Set the filter type to sepia and density to 98%. Then change the blend mode to color and opacity to 51%.
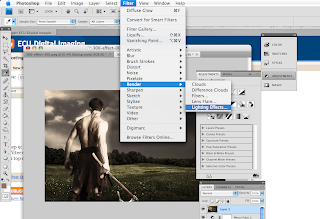
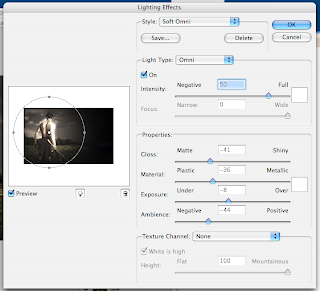
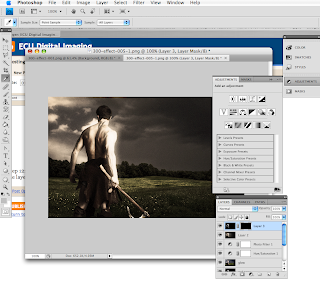
Step 9: Now create another merged copy and open the Lighting effects filter options. (Filter+Render+Lighting Effects) Change the style to soft omni and position the color point to on top of your figure.
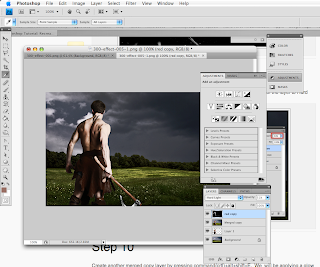
Step 10: Now change the blend mode to overlay and the opacity to 30%.
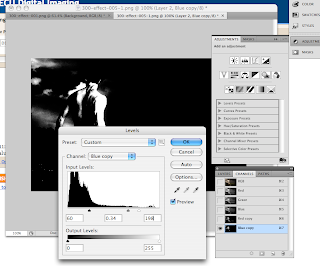
Step 11: Now create a duplicate of the blue channel just like you did with red before and change the values to 60, 0.34, and 198.
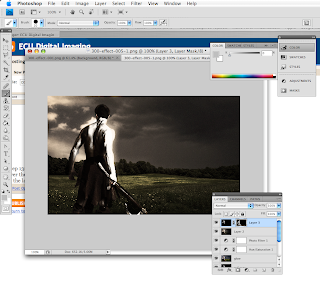
Step 12: Now copy this to a new layer and then Alt+click the layer mask button which is under the layers menu.
Step 13: Now make sure you have that layer mask selected and use a soft white brush to paint over the highlights on the character's body. Then change blend mode to overlay and opacity to 40%.
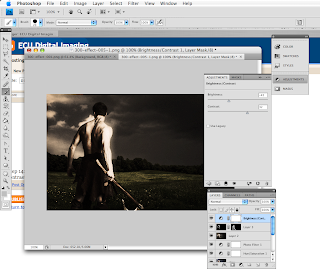
Step 14: Now create a brightness/contrast adjustment layer and change brightness to -45 and contrast to 32.
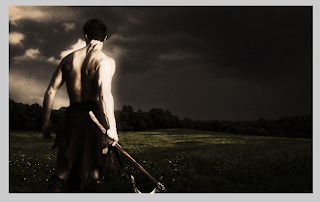
Thats it, You're done!
2 comments:
In the tutorial whenever you use the diffuse glow, the tutorial I used to learn how to do this said to set the graniness to 6, but when I did that it was REALLY grany, setting it to 2 worked better for me.
Kinda dark, hard to see...
Post a Comment