Step 1: Find a space scene on google and load it up in photoshop then desaturate the image.
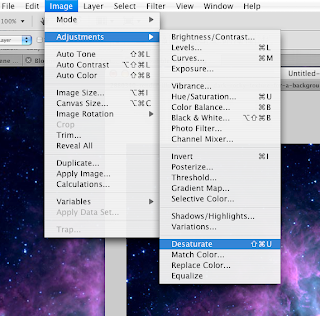
Step 2: Find some sort of texture for your planet, I'm going to use rocks, then load the texture into your space scene.
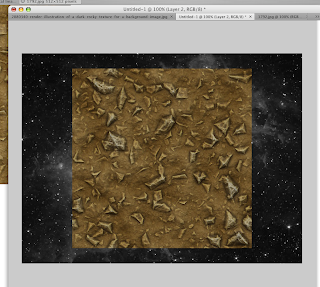 Step 3: Now use the eliptical tool to select a circle in your texture, then invert your selection and hit delete so that you will have a circle left of your texture.
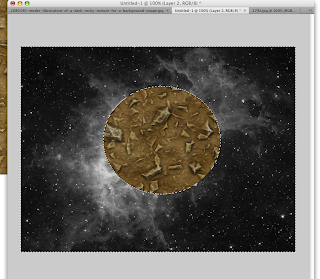
Step 4: Now we are going to make it look a little more 3d by going to Filter > Distort > Spherize, go ahead and make it 100%. You will also have to make it smaller.
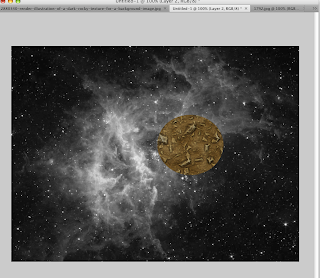
Step 5: Next create a duplicate layer of your planet.
Step 6: Now select your original copy and go to the blending options after right clicking the layer. Then check the outerglow and interglow sections and change their settings to the following pictures.
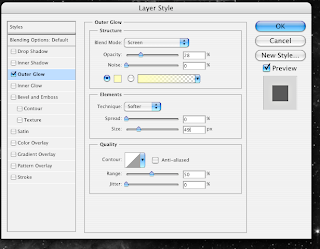
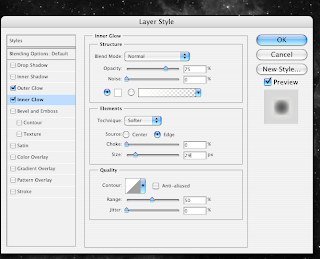
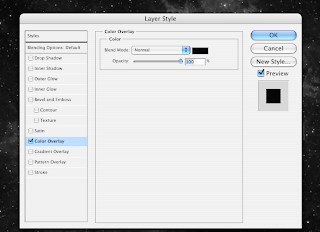
Step 7: Now select the duplicated layer and go to the blending options like you did before and put a black color overlay onto the image.
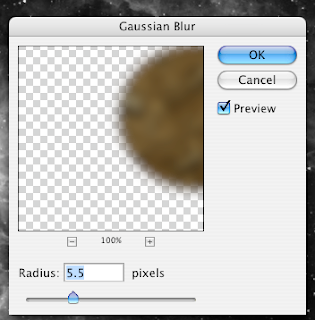
Step 8: Next add a guassian blur and make the radius 5.5.
Step 9: Move your shadow to where you want. Then hit control + click on the thumbnail of your original planet (not the shadow) and then press select pixels. Then click on your shadow layer and hit delete, this erases the shadow we don't need.
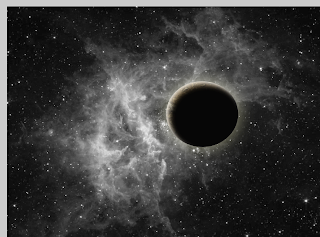
Step 10: Change the opacity to about 80% to 90%, your planet is now complete!
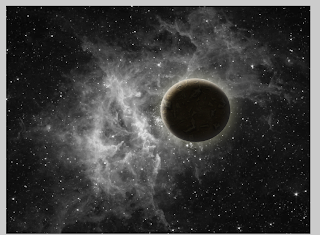
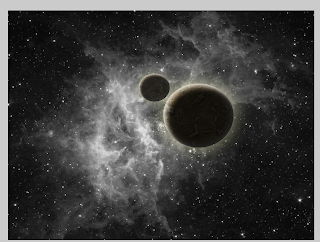
Step 11: You can also do some double planet solar flare effects by merging your shadow and planet layers together then duplicating them (you can make as many copies of this planet as you want). Then move it to where you want and make it bigger or smaller (depending on if its closer or farther away). If its farther away its a good idea to make the opacity about 80% so its a little fuzzier and different than the other.
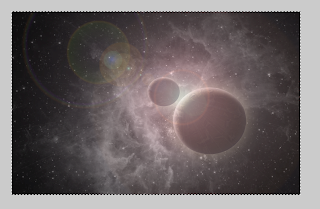
Step 12: You can also create a new layer then add a layer of paint (I used black) and add a lens flare to your planets to make it look like theres a sun reflecting light off of them. Use the 30-500mm lens flare option.
1 comment:
so cool Cody!
Post a Comment