D1 Tutorial #2 Portel
Blending
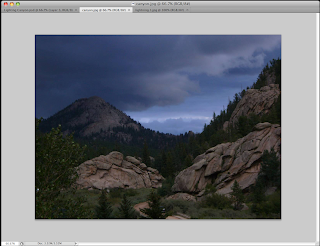
In this tutorial I will help show you how to layer an image on top of another and blend to two together. For this case I choose to use a canyon area at dusk and then apply a lighting bolt in the back for dramatic effect.
1. First find the image that you want for your background. Make sure you record the size of the image and that has a resolution of 300. You may have to make adjustments to it to get it at manageable size. Just find something that works best for you.
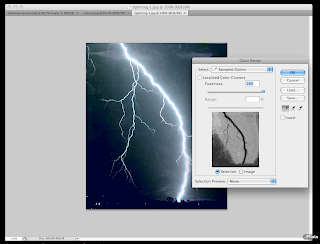
2. Next make sure that you have your image that you plan to apply to the background layer. In this case I choose a lighting bolt. The size of the image matters. You can take an educated guess at how large you should size the image too, but you will have to ability to alter the overlying layer once you apply it.

3. Next you should adjust the color range of the second layer. This will allow it to blend into the background image. This can be found by going to the Select tab, then Color Range. I choose to move mine all the way to 200 worked best for my image, but you can try different values if you want more of the image to be applied to the background layer.
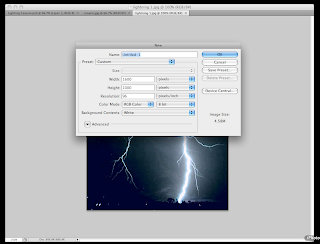
4. Next, it is time to combine the layers together. I choose to create a completely new layer so that I could work with the images a bit easier, but you can apply the image on directly to another if you choose to do so. Just select the image of images that you wish to apply by going to the Select tab then the All sub-tab.
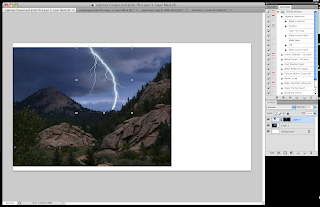
5. Once you have your second image applied you can fine tune the dimensions of the layer to make it look more appropriate for you background layer.
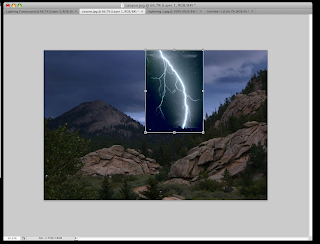
6. Finally, you will need to adjust the opacity of the second image so that it begins to blend in with the background image. I found a decent blend at 83%.
And that is a way to blend two images together in photoshop. I hope can help you out.
No comments:
Post a Comment