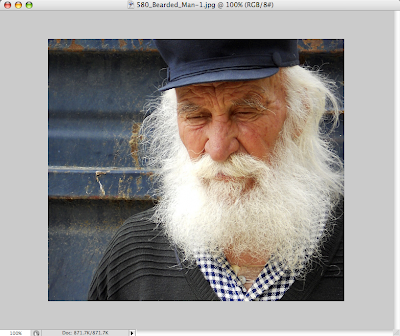
first start off by selecting a picture
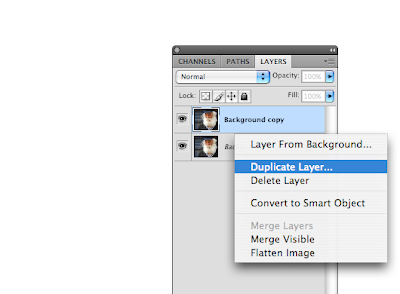
After selecting your picture you are going to make a duplicate of the background layer, it will be called background copy. you do this by right clicking the background layer and selecting duplicate layer
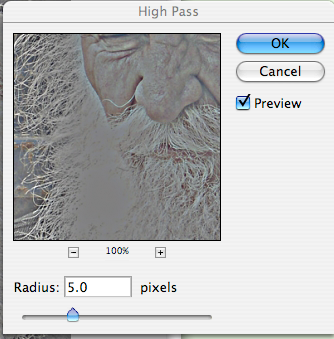
now select the background copy layer and go to the filter dropdown at the top and choose filter>other>highpass and choose 5 for the ammount
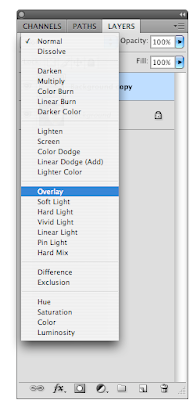
after doing this go to the layer options for the background copy layer and select "overlay"
now you will duplicate the original background layer again, it will be called background copy 2 and move it to the top of the layers window
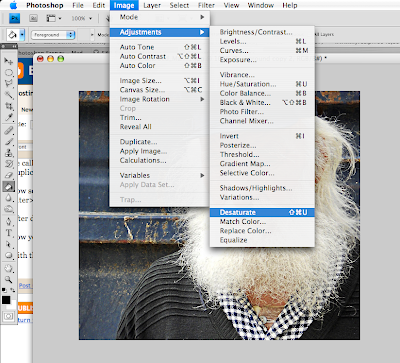
with this new layer selected you will go to image>adjustments>desaturate
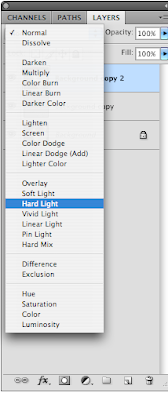
after you have desaturated the image you will set the layer property for background copy 2 to "hard light"
now you will flatten the image
after flattening you are going to create another duplicate of the background and once you have done this you can press Command+F and this will apply the filter that we used on this first background copy. You are also going to change the layer property to overlay again as well
now you will flatten the image again
after doing that you will need to select the "create new fill or adjustment layer" button, which is the half colored circle at the bottom of the layers panel, and select curves
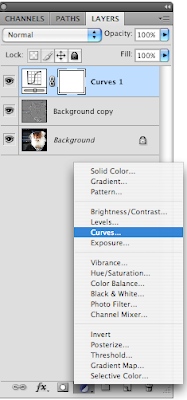
using this you will adjust the curve to make the picture darker and add the bronze color, this will vary depending on your picture that you use.
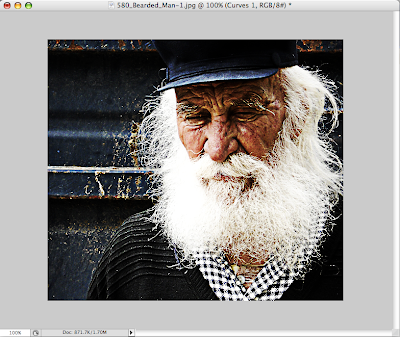
now we are done and the final product should look something like this.
No comments:
Post a Comment