D1. Tutorial #4 - Portel Bellamy
Partial Desaturation and Changing the Tint of Images
(a mini tutorial)
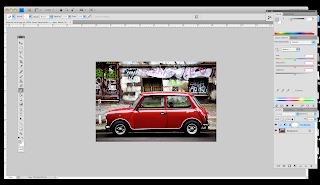
Sometimes just turning down the color in an image without colorizing it can produce a tinted black-and-white look. This tutorial will help assist you in toning down the bright colors and give them an antique look. I started this by first finding an image I choose to use a mini cooper in front of a building.

I then located the "Create a new fill or adjustment layer" button. It's the one that looks like a black and white circle at the bottom of the layers palette. (on the bottom right of the image below)

Then I clicked on the Hue/Saturation button from the menu. The second image highlights the Hue/Saturation button.


From there the Hue/Saturation menu will display. You can adjust the Hue to get various colors. I displayed three images here with three separate values for the Hue.
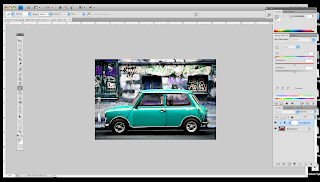


Then you can change the Saturation to get the more antiqued look. (the Saturation is right below the Hue selection bar). I choose three different saturations to show this effect.


Yet, if this change appears to be to drastic of a change, you do have the ability to alter the image by changing the opacity of it. The opacity bar can be found in the layers menu. I changed the image from blue to purple and from purple to red to display this effect. Note: This will not only effects the color of the car, but also the vibrance of the background.


I hope this can help you with your later images. Thank you.
1 comment:
thats pretty awesome!!!
Post a Comment