It can be quite difficult to select certain things sometimes if there are a lot of small parts or don't contrast enough with the background to use the background eraser tool. This will allow you to select those difficult parts and then manipulate what you need to...


1) Select a picture that you want to edit and open it in Photoshop. I got this one from the internet as an example so excuse the watermark! You should then turn this picture into a layer instead of background (by double clicking it in the layers panel and clicking OK), it will then show as layer 0, then duplicate the layer so that the original layer is underneath the one you are editing.
2) In the layers panel, select the channels tab. this will bring up the red, blue, and green channels.

3) Click each channel individually and find the one with the most contrast. In my photo, the blue channel has the most contrast.

4) Hold down Command and click on the most contrast channel (in my case it is blue). Then go back up and select the RGB channel. A selection will appear on the photo and the photo will then look normal.

5) Go to Select -> Inverse to invert your selection.


6) Select the Quick Mask Tool on the tool palette. This will make your picture turn red in color.

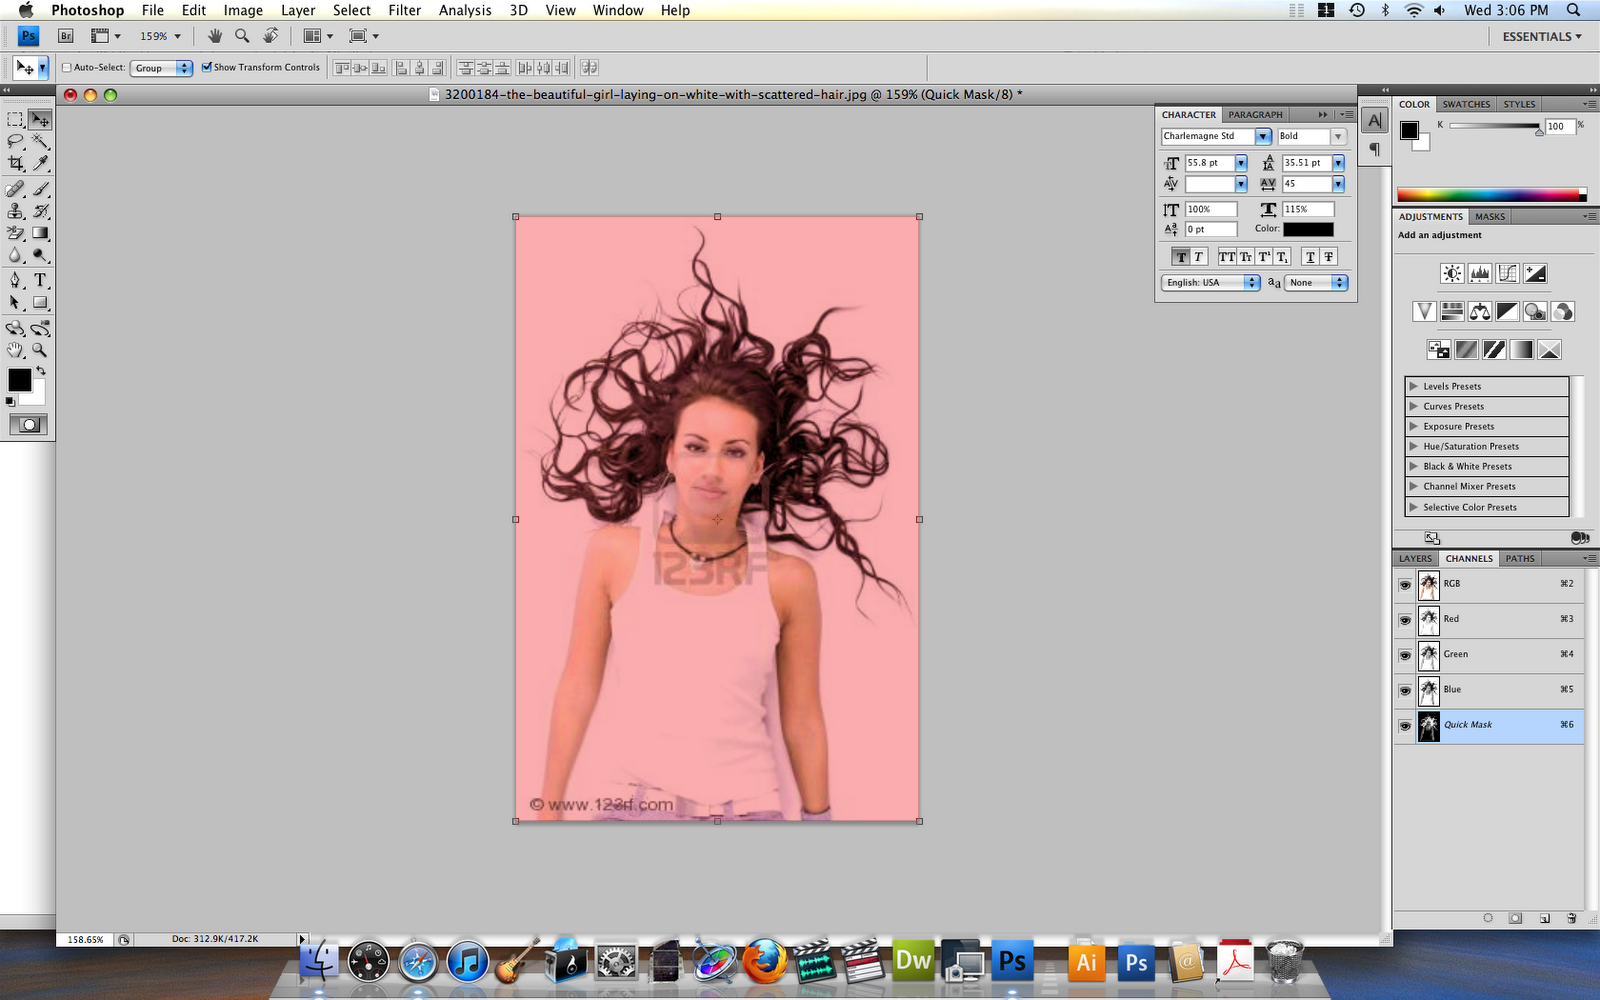
*Note: Everything red is not selected and everything not red is selected.
7) Now select the brush tool. Use a black foreground and white background
.

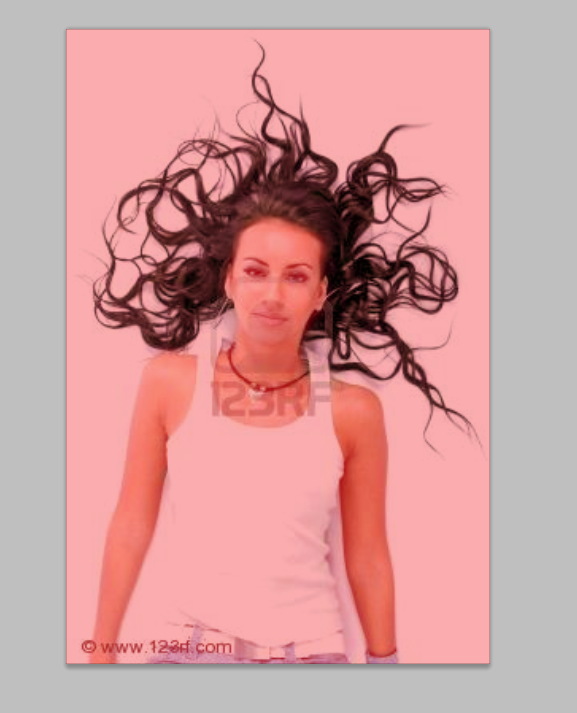
As you paint with the black over previously selected areas, the part you paint over will become a darker red. This color is what will not be selected when you toggle back out of quick mask mode. Notice the arm on the right below (her left arm). It is a darker red because I have gone over it with my brush.

8) Do this over the rest of the photo in places you do not want selected like her arms, face, belt, etc... You may have to toggle back and forth between modes to check your progress.

9) Now that you have the hair selected, go to Image - Adjustments - Hue/Saturation and adjust it accordingly!


10) I made this Brunette into a redhead. Of course more time can be spent on this to get it more perfected if you wanted to!


2 comments:
Did you make your own watermark???? 123rf??? Is that you?
That would be a negative! haha I just found a picture to help me with the tutorial...
Post a Comment