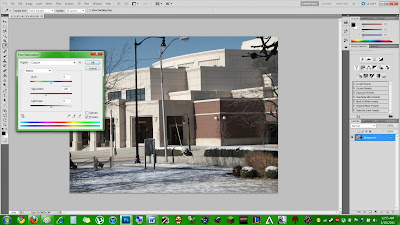
1. Go the the Hue/Saturation and make it look a little more ethereal
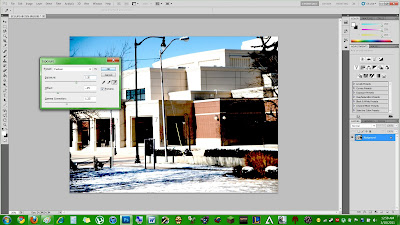
2. Change up the exposure a bit
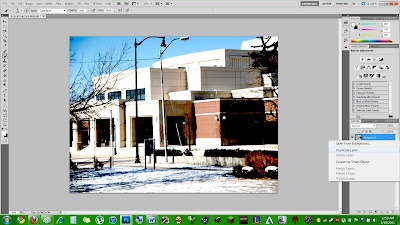
3. Duplicate your layer
4. Go to Filter>Blur>Lens blur for our first little blurring effect on the image
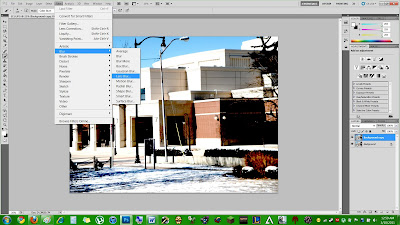
5. The lens blur makes the picture blur up a little for a slightly less clear picture (which we want)
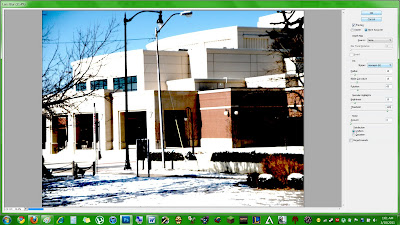
6. Gaussian Blur actually works a little better than Lens Blur, so lets use that too to make it even blurrier.
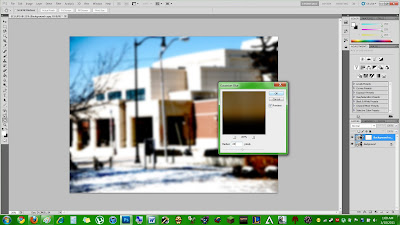
7. Use a brush to cut through the middle and make the center look sharper
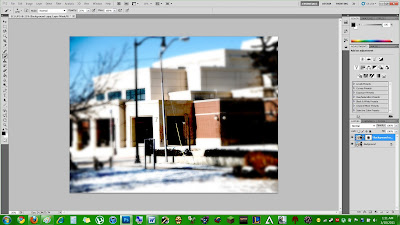
8. Fill the new layer with black and make it around 70% opaque so we can see the image still
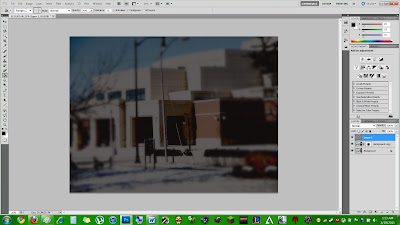
9. Erase a part of the focus of the shot with the Eraser
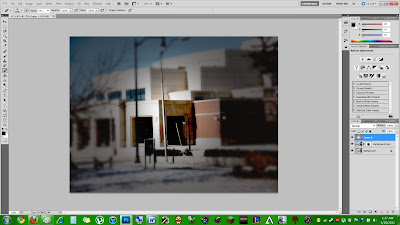
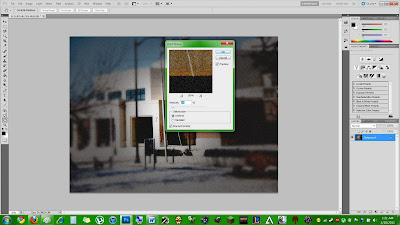
10. Go to Filter>Noise>Add Noise so we can make the image look more realistic
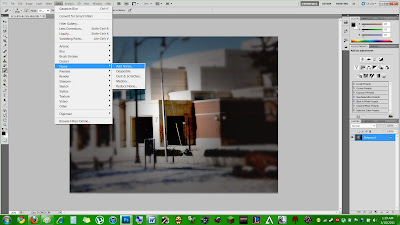
11. Select a percent that makes your image looks good and grainy
12. Now use the Marquee tool to select rectangular sections of the top and bottom to add a Widescreen effect (fill the sections with solid black)
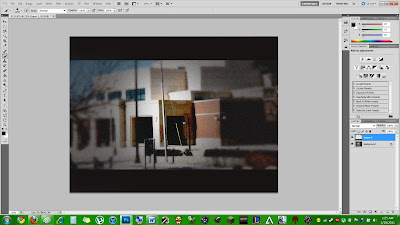
13. Go to Image>Adjustments>Color Balance to add the final coloring effect
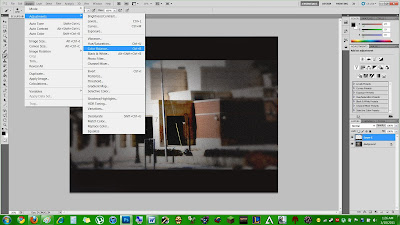
14. Put points into Cyan and Blue to give it that filmy blue quality.
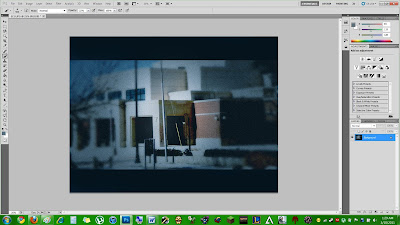
And that's it! Now you can make any image look like a movie scene!
No comments:
Post a Comment