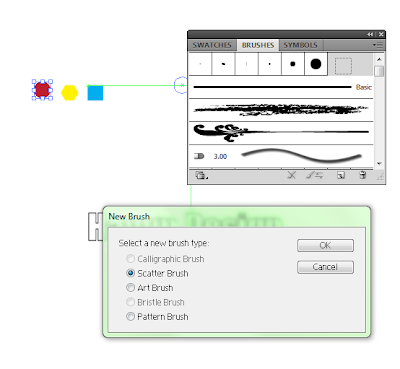
To start you will need to create 3 shapes that will be come the scatter brush. For this example I will be using a circle, hexagon and square.

Make sure to make all of the shapes their own color.
After you have the shapes made you will need to open up the brushes panel by going to Window>Brushes. Once there you can just drag the shapes themselves into the window and dialog bow will appear, you will choose to make a 'New Scatter Brush" for each of the shapes.

Whenever you make one of the new scatter brushes you will be asked to edit the properties of each. Adjust the sliders as they are in the pictures for each shape.
Circle:

Hexagon:

Square:

Once you have those you can begin to use the brush to lay down the pattern, by using the new brushes and painting them one over the top of one another.

After you have your pattern layed down you can place something on top of it if you like. For example you could place a brand name. It should look something like this when finished (I used a black background to contrast the white text).

No comments:
Post a Comment