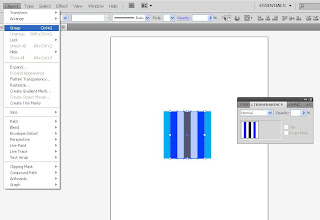
1. Create a rectangle.
2. Duplicate the rectangle you've just created or create a new one. Adjust the opacity. You can use an entirely different color as well.
3. Create another rectangle and fill it with white. Adjust the opacity.
4. Repeat Step 3 expect fill this next rectangle with black.
5. Select the last three rectangles you created. Go to Object > Group to combine them.
6. Duplicate the grouped rectangles. Rotate them to a 90-degree angle.
7. Group ALL of the rectangles you created to create your base pattern. Drag the base pattern ALL the way to the Swatches panel.
8. Create a new bigger rectangle and fill it with your pattern.
And there you have a horizontal plaid pattern!
But what if you wanted to tilt the pattern a bit? . . .
I'll show you how!
9. Rotate the pattern at a 45-degree angle.
IMPORTANT TIP: Be sure to only have "Patterns" checked. Leave "Objects" unchecked or you will screw it up!
And now you have a nice diagonal plaid pattern!


1 comment:
nice!
Post a Comment