D1. Portel Bellamy - Tutorial #5
Overlaying a Gradient Fill Layer
Ok, so for this tutorial I am going to attempt to help you learn how to apply a gradient fill layer to your images. This can help give the a more dynamic look, or it can be like the letter b in subtle, if you want. So in order to get started we first need an image. I choose to use one of a man jumping off a cliff.
Step 1.) Get image.

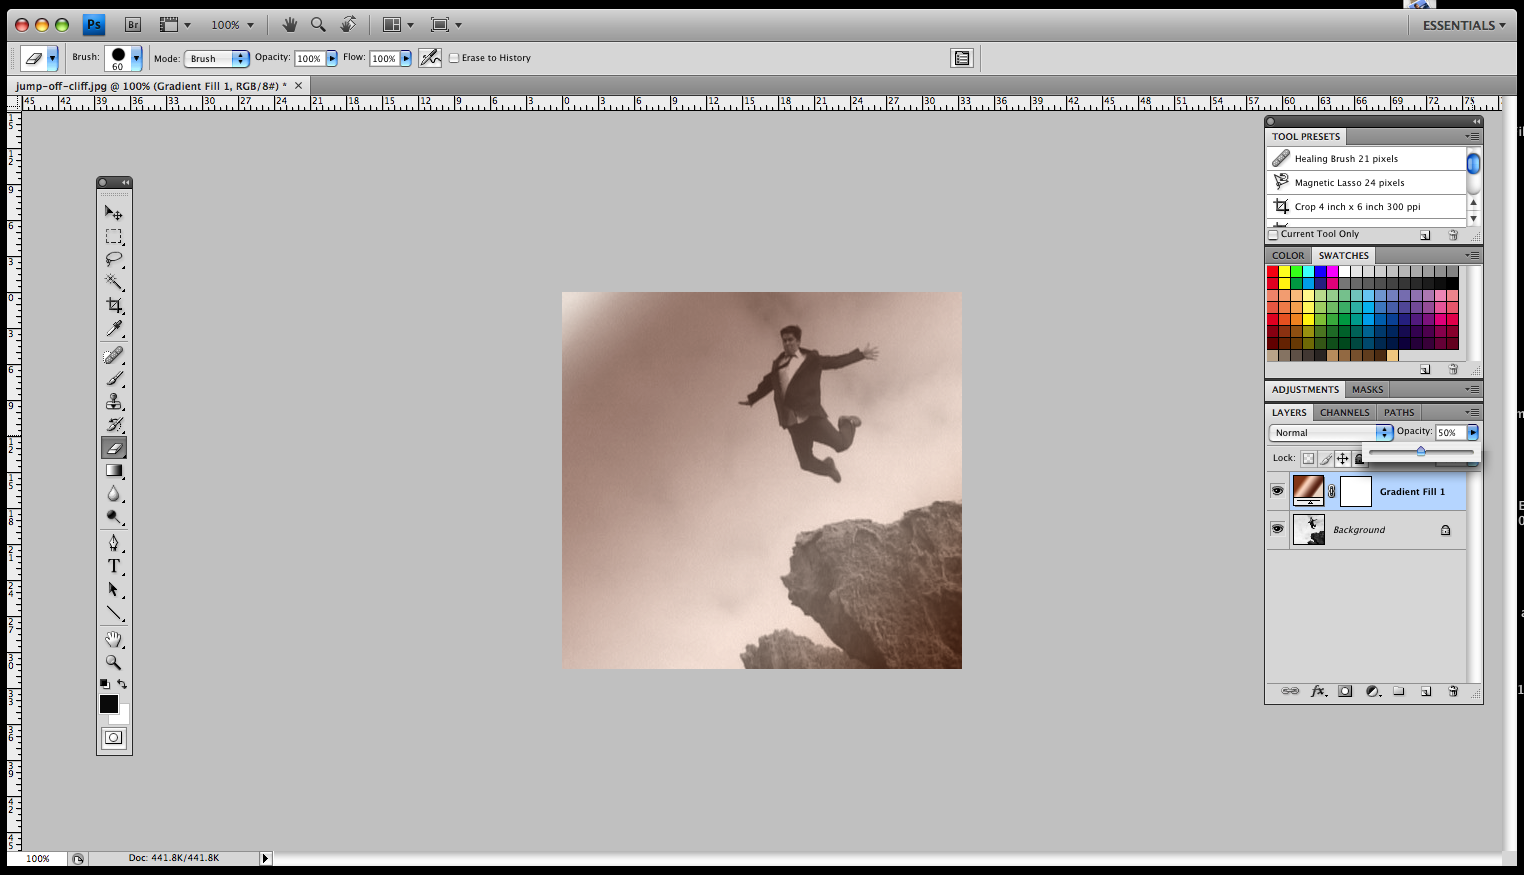
Step 2.) Click on the "Create new fill or adjustment layer" button at the bottom of the layers palette.

Step 3.) Then click on the Gradient selection. (You can see that the background has already changed).

Step 4.) Now choose a type of gradient that you would like to apply to the background. For this example I choose to use a copper tinted background. Note that it will completely cover the image, but you can change this with the opacity (step upcoming).

Step 5.) After you choose a Gradient Fill to use then you can adjust the angle of how it streaks across the screen. (Don't worry about the Gradient choice too much because you can always go back and change it later if you want).

Step 6.) Now that you have an idea at what angle you want the image at, now you can change the opacity. I found adjusting it to about 50% was the best for this image.
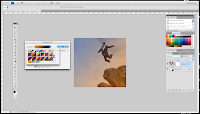
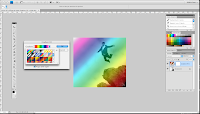
And as mentioned earlier, you can always click on the gradient fill layer and change the patterns. In this case I also found one fill that looks like the man was jumping away from an explosion, and the other looks like he is attempting to jump into a rainbow.
Anyways, I hope this helps you out with future images and enjoy.
1 comment:
i like the rainbox background hahaha.. its koo with the man
Post a Comment