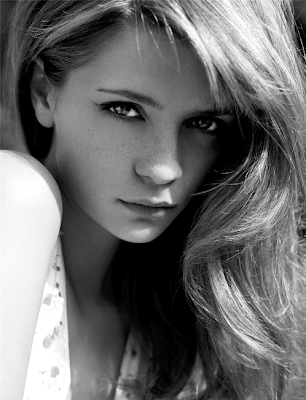
Step One: Choose a black and white photo.
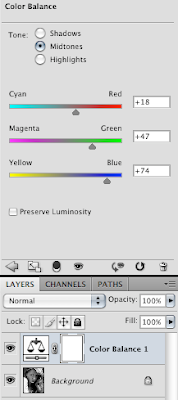
Step Two: Since the photo is only in black and white, I went to Adjustments and fiddled with the color balance until it was close to a faded blue, green color.
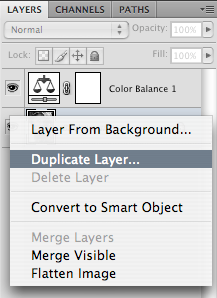
Step Three: Duplicate the layer.
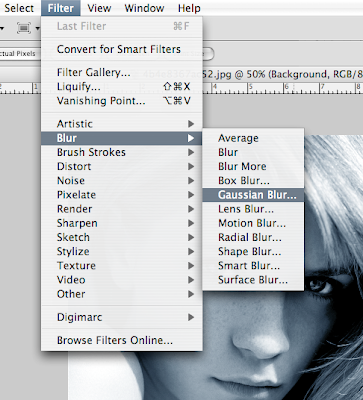
Step Four: Add a cool effect to the duplicated level by going to Filter, Blur, then clicking on Gaussian Blur.
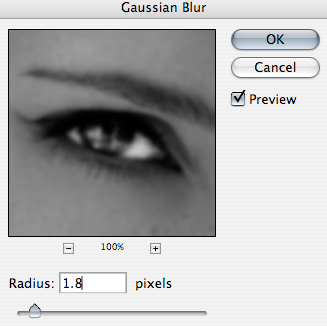
Step Five: Change the radius of the pixels to a 1.6 to a 2.0.
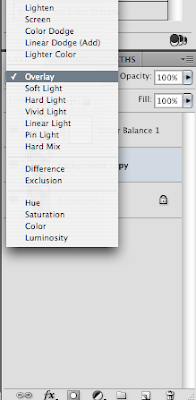
Step Six: Change the layer blending mode on this layer to Overlay. Now merge both layers together by pressing the apple button+E together. Once again, duplicate the layer.
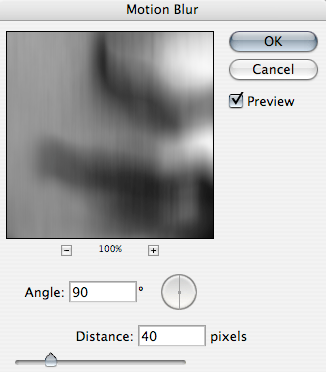
Step Seven: With the duplicated layer selected, now go to Filter, Blur, and then click on Motion Blur. Change the settings to an approximation of the ones above. Set the blending mode on the layer to Overlay again.
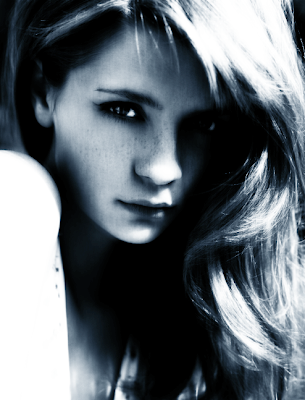
Step Eight: Your image should now look something like this above.
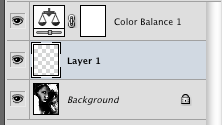
Step Nine: Create a new layer and using the paintbucket, fill this with white. Change the blending layer mode to overlay but DO NOT MERGE.
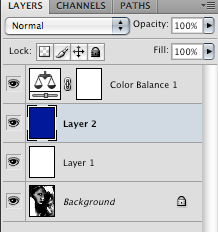
Step Ten: Just in case you need to, you can reset your color palette by pressing D. Using the paint bucket, fill layer 2 with a dark blue color.
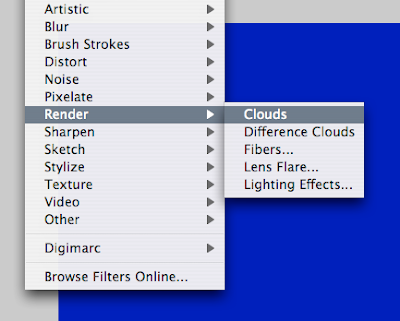
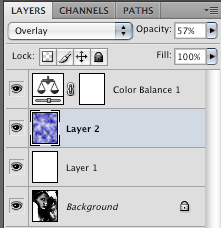
Step Eleven: Now, while still on layer 2, go to Filter, Render, and then click on Clouds. Change the blending mode to Overlay and lower the opacity. Add another layer at this point, fill it with white and then set the blending mode to Difference.
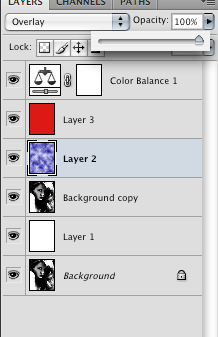
Step Twelve: At this point, I rearranged the layers like above to get the finished image.
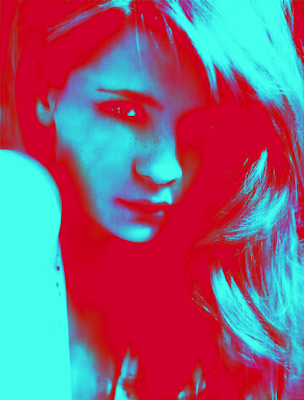
Step Thirteen: You're Done!
1 comment:
this tutorial is neat something koo, ill def try to play with
Post a Comment